Super Easy Foolproof Yogurt Making

I’ve been promising to write out my greek yogurt recipe for so long and I finally decided to take some quick pics and post it! My Aunt shared this super simple recipe with me after telling me for sooo long how easy it was...and guys, it really is SO easy and saves us boatloads on greek yogurt! All you need is a large pot, a carton of homogenized milk, about 1/4 cup of plain greek yogurt called “starter” (I’ve used vanilla greek yogurt in a pinch and it still worked!) and that’s about it!

Start by pouring your milk into your pot. I use the whole carton for our house but you could use more or less! 

Put the pot on your stovetop and turn the burner to medium. Now the first time you do this you will probably want to stay close by in case your stove runs hot, but I set my timer for 20mins on my stove and leave it to heat up. (The first time you make it you want to see how long it takes on your stove to look like the following picture.)


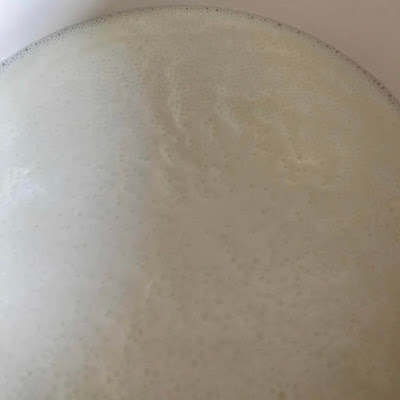
Once your milk is covered in a layer of bubbles like this (it should not boil), then take it off the heat.


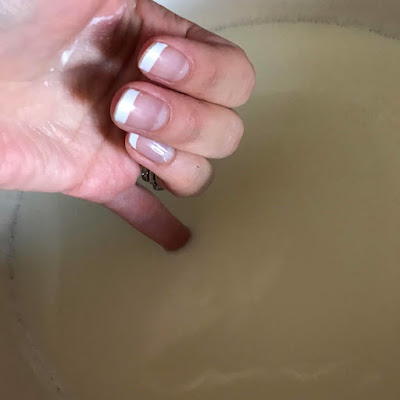
For this next part I’m sure many recipes online say to use a thermometer, but my Aunt taught me to let it cool until I could stick my pinky in the milk and hold it for 10seconds without having to take it out from pain... Basically you want it still hot but not scalding. Be brave but also be wise. It takes mine about 17mins to cool to the right temperature but again for the first time stay close and check often. (I also use a heavy dutch oven type pot to make mine so it stays hot for a while).


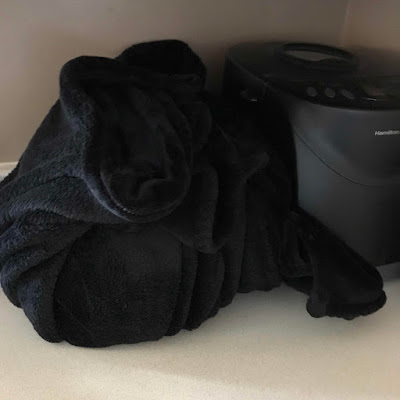
Once it’s cool take your “starter” (greek yogurt) and mix it in a bowl with some of your hot milk to break it up and then stir that whole mixture into your pot of hot milk. You could probably just stir your starter right into the milk but I like to make sure it’s not lumpy. Then put a lid on your pot and wrap it in a blanket and leave it to incubate over night or about 24hrs.


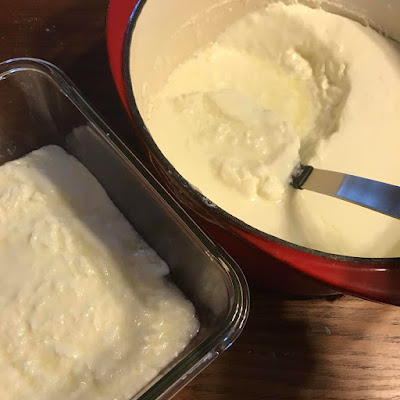
Once 24hrs are up, check your pot and voila! Yogurt! I scoop mine into a glass dish to put in the fridge at this point.


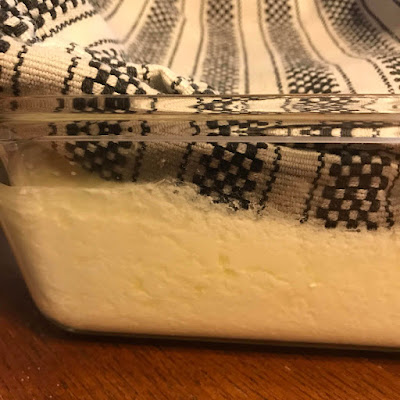
The yogurt will probably be runny-er than you are used to and there are lots of ways to remove the extra whey. You can pour the yogurt over cheesecloth and save the whey for smoothies etc. or you can cover the yogurt with an old (clean) dishcloth to absorb the extra whey. You can replace the cloth over and over until you get a nice thick yogurt, or just absorb a bit for a thinner yogurt.


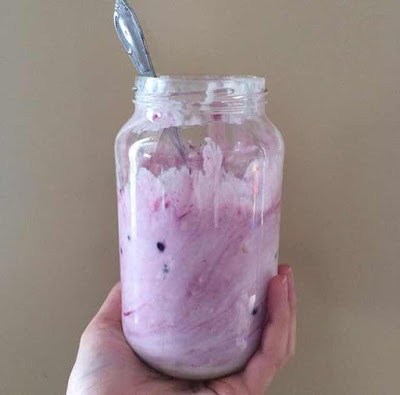
Add flavors such as vanilla and blueberry and place in a jar (or leave it plain). I’m not sure exactly how long it lasts but at least a couple weeks! 

Healthy Organic Greens Packed Muffins

This is a super simple, healthy and delicious muffin recipe! Nut free and refined sugar free make it excellent for school lunches! I use one bowl and whip these up in about 15 minutes (so easy clean-up too!). Makes 12 muffins. 


  • 1½ cup oats (I used quick oats)
  • 1¼ cup flour
  • 1 teaspoon baking powder
  • ¾ teaspoon baking soda
  • 1 teaspoon cinnamon
  • ½ teaspoon salt
  • 1 scoop Shaklee Organic Greens Booster
  • 1 cup applesauce
  • 1/3  cup maple syrup
  • ¼ cup plus 2 Tbsp milk
  • 3 tablespoons butter (or oil of choice)
  • ½ teaspoon vanilla extract
  • 1 egg


  1. Preheat oven to 375F
  2. Mix together dry ingredients: oats through greens.
  3. Make a well and add in wet ingredients.
  4. Stir until just combined.
  5. Use a large baking scoop to fill prepared muffin cups ¾ full.
  6. Bake at 375F for 15 to 18 minutes or until cooked through.


You could make this recipe without the greens and it would still be delicious! I am going to try increasing the amount of greens to see what the breaking point will be to my kids eating them haha. It's such a great easy way to get some added greens in their diet! If you would like to order your own greens, feel free to reach out or visit My Personal Shaklee Website.

Copycat Healthy Aussie Bites

We love the Aussie Bites that you can buy at Costco but they are a bit pricey and I wanted to try making a recipe that has no refined sugar or canola oil. These are a perfect snack because they are dairy free, nut free, refined sugar free and could easily be made gluten free although when I make them they are not.


I referenced about 3 copycat recipes to make this version (Linked below) but I adapted to our taste. For starters, I popped the quinoa. Some recipes said to cook it and others said raw, but I find that creates one extreme of softness compared to a very crunchy quinoa. Popping them makes them the perfect crunchy and flavour for me!


I chopped the apricots and added them to the raisins then heated them up with the butter to easily blend them down to about rice sized pieces. 


I also used these porridge oats instead of rolled oats. I love this mixture but if you want a gluten free Aussie Bite then just use regular rolled oats.


Combine all the ingredients in a large bowl and then scoop into a mini muffin pan. This recipe makes 30 mini muffins!


1 3/4 Cup Rolled Oats (Or Porridge Oats)
1/4 cup coconut sugar
1/3 cup raisins
1/3 cup apricots chopped
1/4 cup ground flax seed
1/4 unsalted sunflower seeds
3 Tbsp unsweetened shredded coconut
1/4 cup of popped quinoa*
2 Tbsp chia seeds
1/4 tsp baking soda
1/4 cup honey
1/4 cup butter
1/4 cup melted coconut oil 
1/2 tsp vanilla extract

*To make popped quinoa: Heat a large saucepan over a high heat. Add a few kernels of quinoa and when they start to pop add the rest of the quinoa. Make sure the quinoa is in a thin layer at the bottom of the saucepan, cook in batches if you need to. Keep the quinoa moving by tossing in the saucepan so it doesn’t burn. As soon as it turns a light golden brown colour add it to a large bowl.

Instructions:


  • Preheat oven to 350 degrees. Lightly grease a 24 count mini-muffin pan.
  • Pour 1 cup of rolled oats into a food processor. Process for about 1 minute until oats are pulverized into oat flour.
  • Add in the remaining ¾ cup rolled oats, coconut sugar, dried apricots + raisins soaked in butter, flax seed, sunflower seeds, coconut, quinoa, chia seeds, and baking soda. 
  • Pour in honey, coconut oil, and vanilla extract and stir until combined.
  • Divide batter among the prepared muffin tin.
  • Bake in the preheated oven for 10 to 12 minutes until golden brown.
  • Remove pan from oven and let cool in pan on a wire cooling rack in the pan.
  • Once completely cooled, remove from pan and store in an airtight container for 4 to 5 days.


  • References:
    http://www.thestayathomechef.com/2015/01/homemade-aussie-bites.html
    http://sweeptight.com/2016/01/energy-snacks-aussie-bites-copycat-recipe.html
    http://missywiechmann.com/?recipe=copycat-aussie-bites


    Louie's First Birthday

    Our little Lou is one year old now! It's absolutely crazy to think that we have a 1, 2 and 4 year old! We had a simple little backyard party for Louie and just enjoyed the weather and watching him have a blast! It's definitely fun to have a summer baby! Being around Lou puts a smile on just about everyone's face. He's adorable and happy almost all the time. He's nowhere close to walking but does a hilarious shuffle on his bum. He adores his brothers and his daddy and watching them all having fun together melts me into a puddle. Being a mama of boys is such a joy to me. I love my little men and my hubby...being outnumbered in this house is nothing but fun so far! I mean look at these pics...


    Photobucket


    Pin It!

    Best Girly Sugar Scrub Ever!


    This smells amazing and will leave your hands feeling so soft and smooth!

    RECIPE:
    1 Cup of Sugar
    1/2 Cup of Coconut Oil
    2 Bags of Tazo Passion Tea
    5 Drops of Orange Essential Oil
    1 tsp Grated Orange Zest
    Optional 2 Drops of Red Food Coloring

    Cream coconut oil and food coloring then blend with all other ingredients and store in an air tight jar.
    Photobucket


    Pin It!